This chapter explains how to add a new project using Eclipse as the standard programming environment. The bundled clients are integrated instead of generating the clients via specific plugins.
If your already know how to consume web services with Java you can skip this section. Otherwise, the screenshots below guides you through the steps which are obligatory to create a PTV xServer project successfully.
Step 1: Download Eclipse as the open source programming environment. We recommend downloading the current packages and to stay updated. The following project solution and screenshots are created by using the following version: Luna.
Step 2: Download the PTV Java clients from PTV's Customer Area.
Caution: Login is required to get access to the Customer Area. Please notice that the version of the client bundles is identical with the version of the PTV xServer.
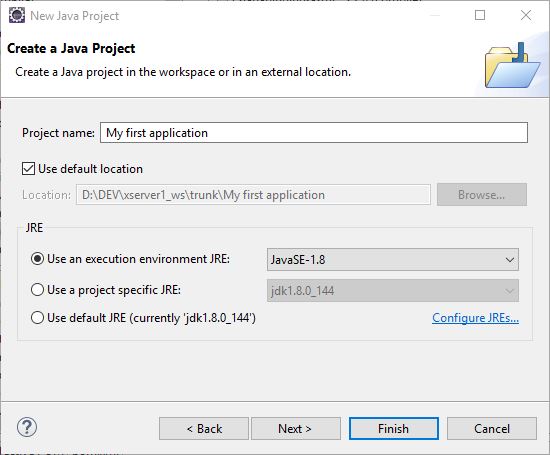
Step 3.1: Create a new project.
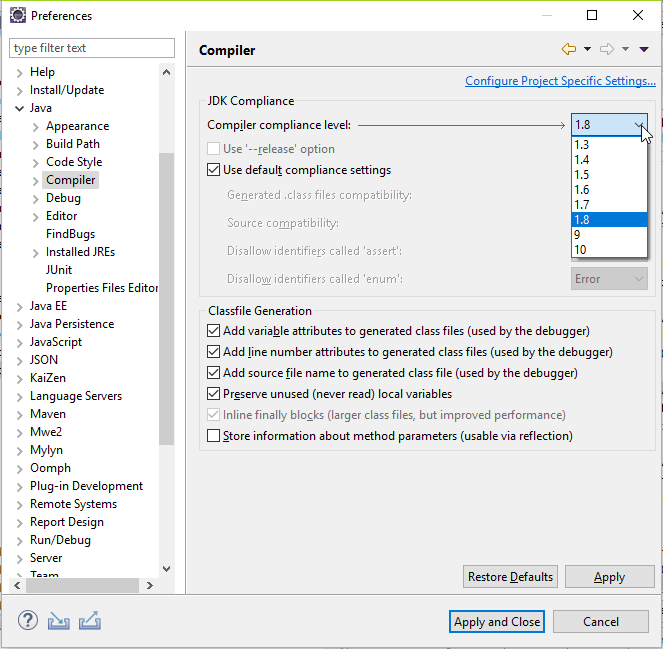
Step 3.2: Choose the correct Java version: Use JRE7 environments for PTV xServer Java clients 1.18.1 and lower. PTV xServer 1.20 and above do support JRE8 version, only. Please notice, that JRE6 and lower versions are not supported anymore. JRE9 and above are not supported for now.
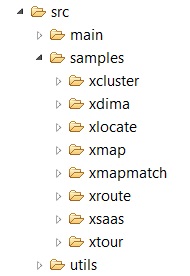
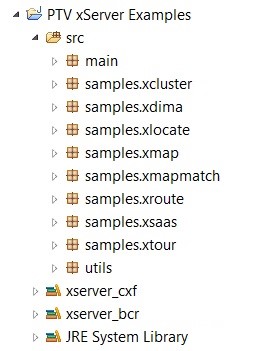
Step 4: Copy the existing Java code samples into the "src"-folder of your recently created project.
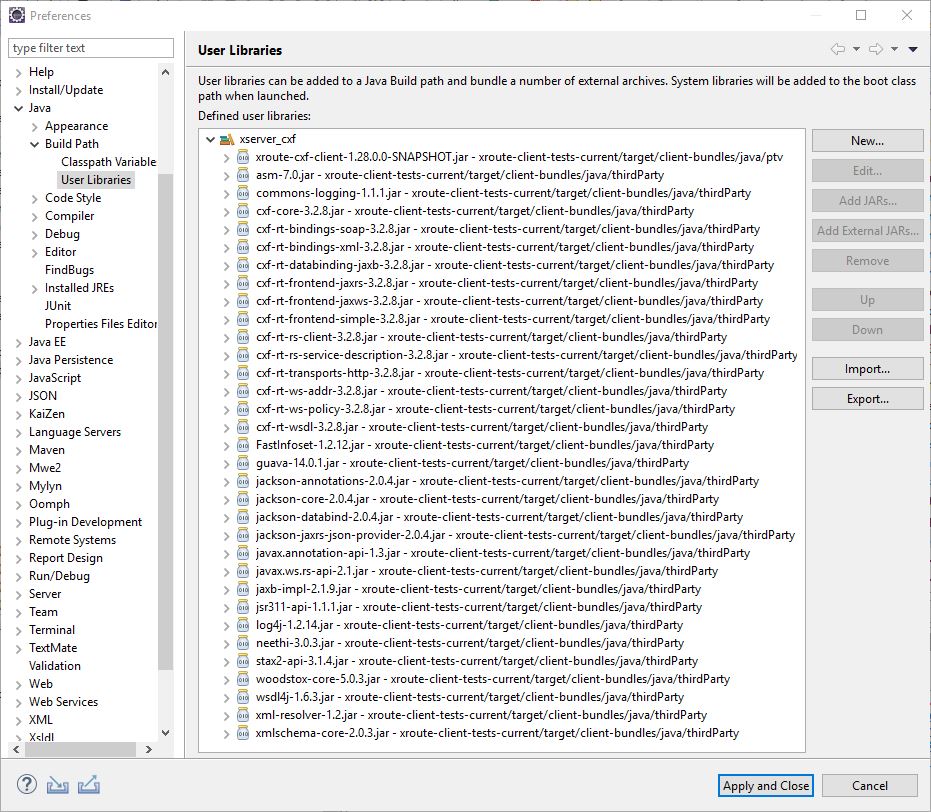
Step 5: Add the client bundles (PTV Java clients and additional third party libraries) into your Java build path as specific user libraries. Hereby, open "Preferences" via menu bar.
Caution: The complete jar files must be added in the user libraries "xserver_cxf" as shown below.
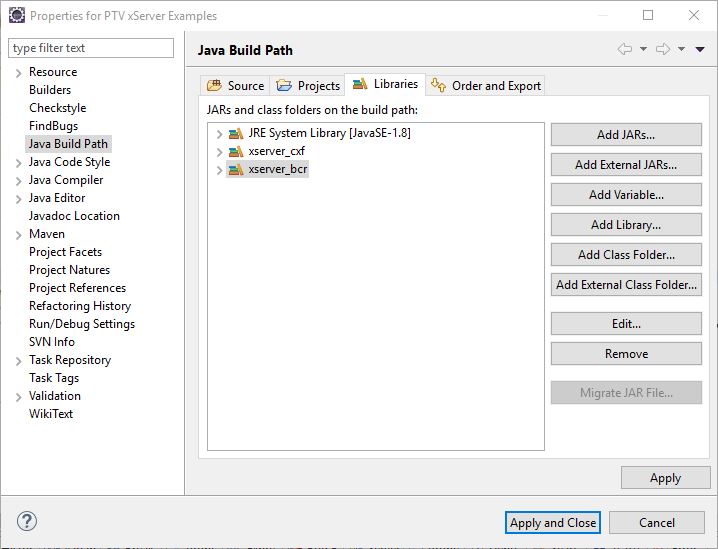
Step 6: Open "Properties" in your project (here: PTV xServer Examples) and add the already generated PTV xServer libraries (xserver_cxf).
Please notice, the library xserver_bcr is only needed for the use case "guided navigation".
Step 7: Validate the added libraries and source codes finding errors marked by Eclipse itself. Otherwise, there might be a version conflict between the code samples and the integrated WS client libraries. If so, check the version number of the delivered packages and start debugging your source code.
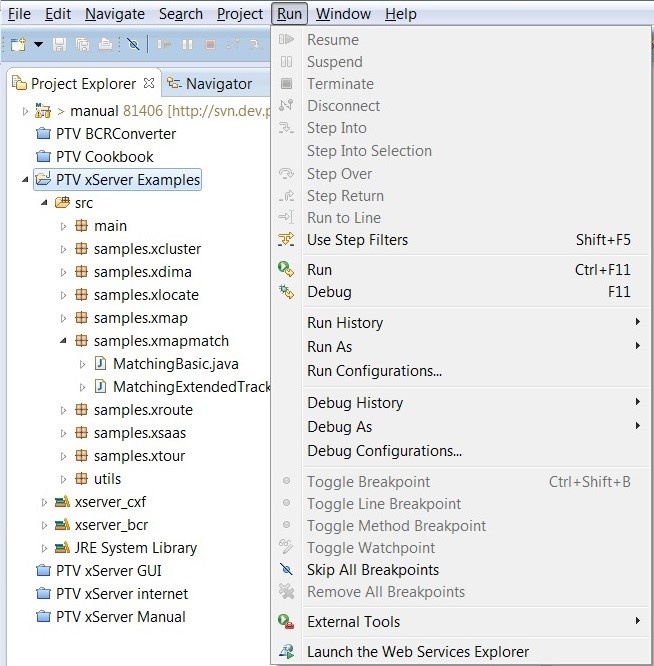
Step 8: Start the code sample as a Java application. Select and execute your first application using following combination: Ctrl+F11.
Start the PTV xServer before running the code samples. Otherwise, a system exception will be thrown. For a successful start of the PTV xServer, copy the license file "license.ptv" into the basic directory of the PTV xServer. Furthermore, take into account that only Luxembourg, Rhode Island and Tasmania are installed for training purposes. The default settings are as follows:<root directory>/data/map. If the license file is missing or an extension of the map is mandatory, please contact your PTV sales partner.
Copyright © 2025 PTV Logistics GmbH All rights reserved. | Imprint